
Overview
The Countdown widget in DesignSute allows you to create urgency-driven sections by displaying a live countdown timer with full date and time support. Whether you’re promoting a limited-time offer, product launch, event, or campaign, this widget helps you visually highlight the remaining time in a clear and engaging format.
With full control over days, hours, minutes, and seconds, customizable labels, alignment options, direction settings, and an expiration message, you can easily build high-converting countdown sections.
Key Features
- Full date & time countdown (Days, Hours, Minutes, Seconds)
- Custom label support for each time unit
- Alignment control
- Direction control (Row or Column)
- Custom expiration message
- Full styling options
- Fully responsive design
Perfect for:
- Limited-time offers
- Product launches
- Event countdowns
- Flash sales
- Webinar registrations
How to Activate the Countdown Widget
Before using the Countdown widget, make sure it is enabled from the DesignSute Dashboard.
Steps to Enable:
- Go to DesignSute → Dashboard → Widgets (Tab) in your WordPress dashboard.
- Locate the Countdown widget.
- Toggle it ON to enable the widget.
- Save changes if required.
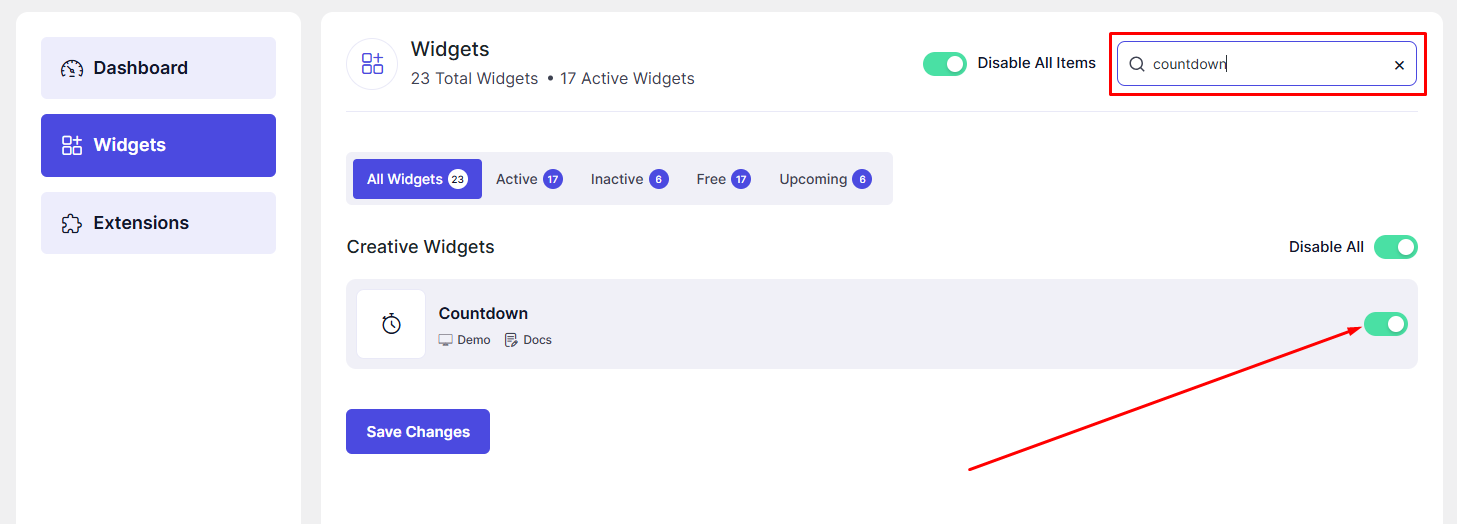
Now, the Countdown widget is ready to use in Elementor.
How to Add a Countdown Widget in Elementor
- Open your page in the Elementor Editor.
- Search for “Countdown” in the Elementor panel under DesignSute widgets.
- Drag and drop the widget into your desired section or column.
- Configure the date, time, and layout settings.
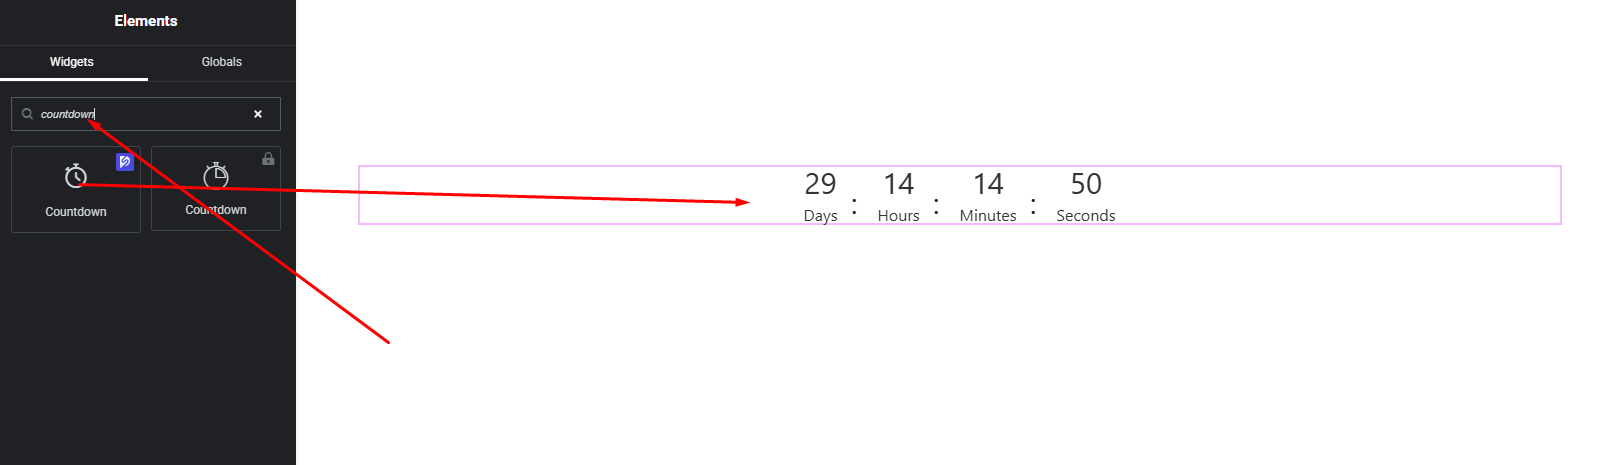
Your Countdown widget is now added and ready to customize.
Content Settings
The Content tab allows you to configure the countdown date and structure.
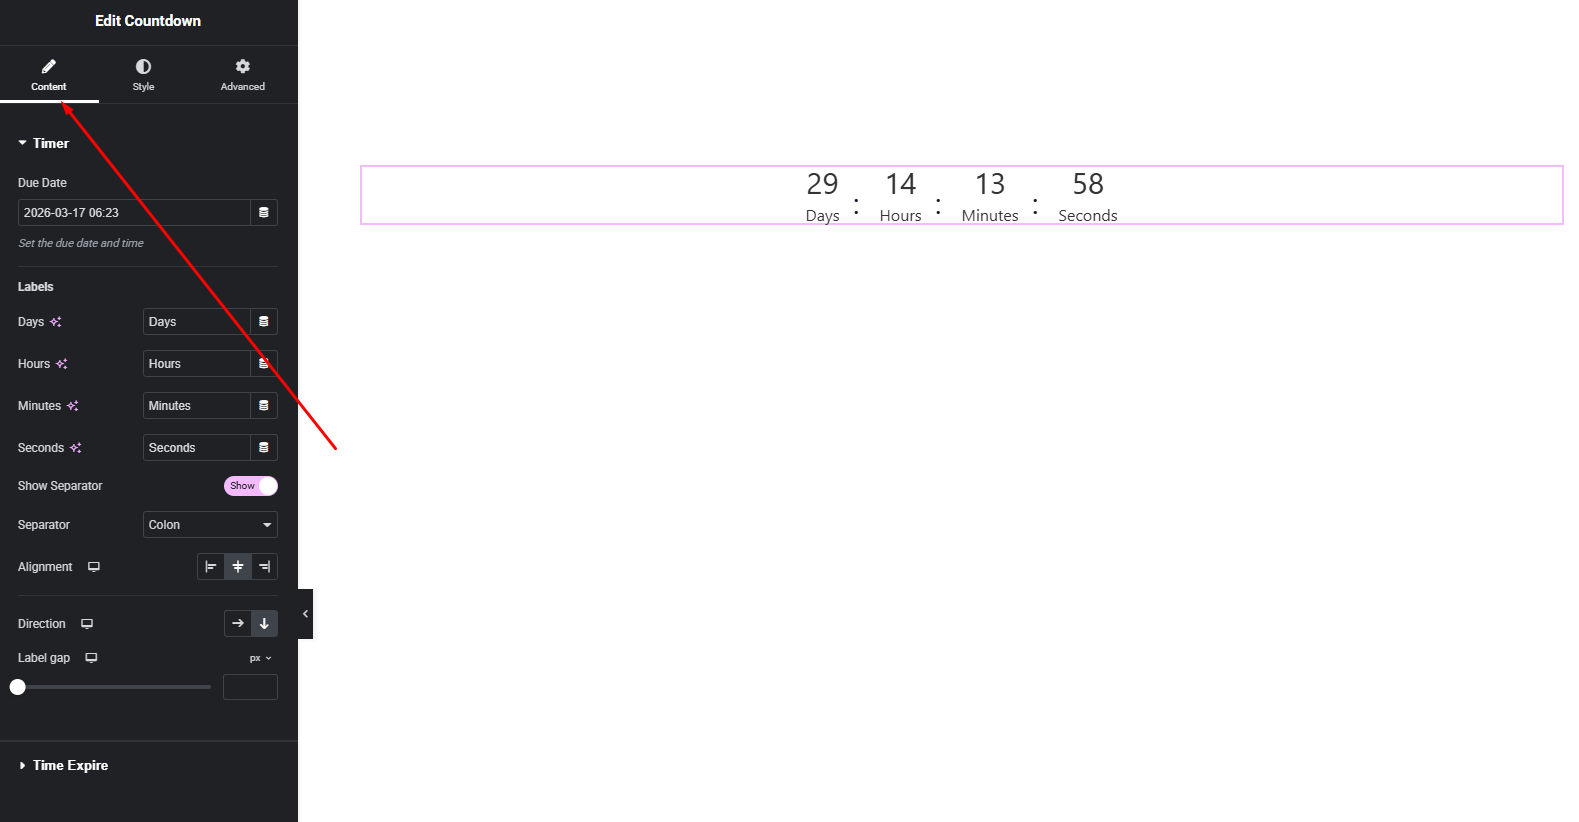
Available Options:
- Due Date & Time – Select the exact date and time for the countdown to end.
- Time Units – Display full time format including:
- Days
- Hours
- Minutes
- Seconds
- Labels – Customize the labels for each time unit (e.g., “Days”, “Hours”, etc.).
- Direction – Choose how the countdown items are displayed:
- Row (horizontal layout)
- Column (vertical layout)
- Alignment – Align the countdown left, center, or right within its container.
- Expire Message – Add a custom message that appears once the countdown reaches zero (e.g., “Offer Expired”, “Event Started”).
These settings help you create structured and urgency-focused countdown sections.
Style Settings
The Style tab provides full control over the appearance of the countdown elements.
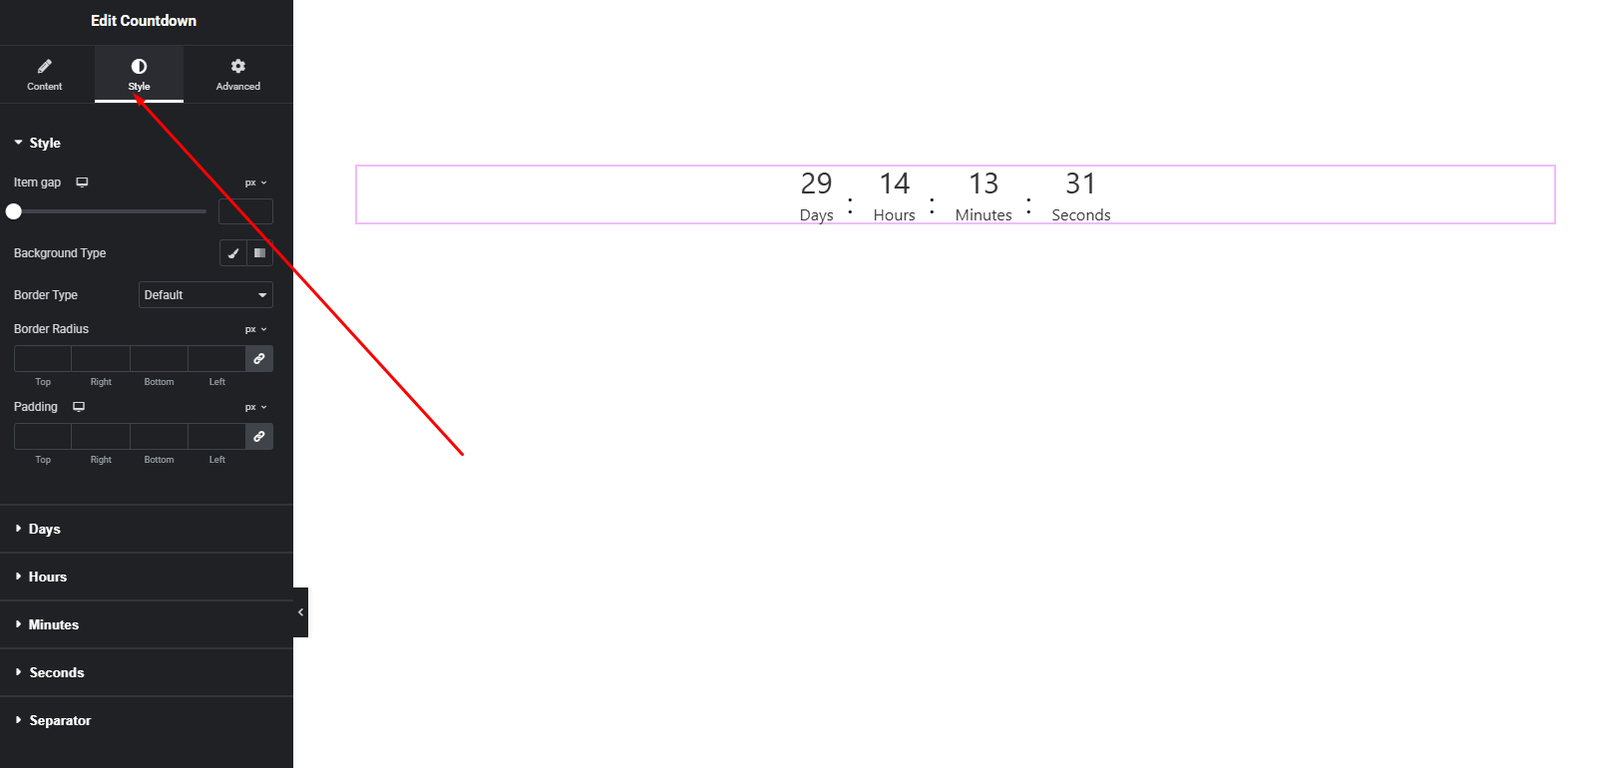
Number Style
- Typography (font family, size, weight, spacing)
- Number color
- Background styling
- Border & radius
Label Style
- Typography
- Text color
- Spacing
Expire Message Style
- Typography
- Text color
- Alignment
These styling options allow you to design bold promotional countdowns or minimal elegant timers depending on your website style.
Advanced Settings
The Advanced tab includes additional layout and responsiveness options.
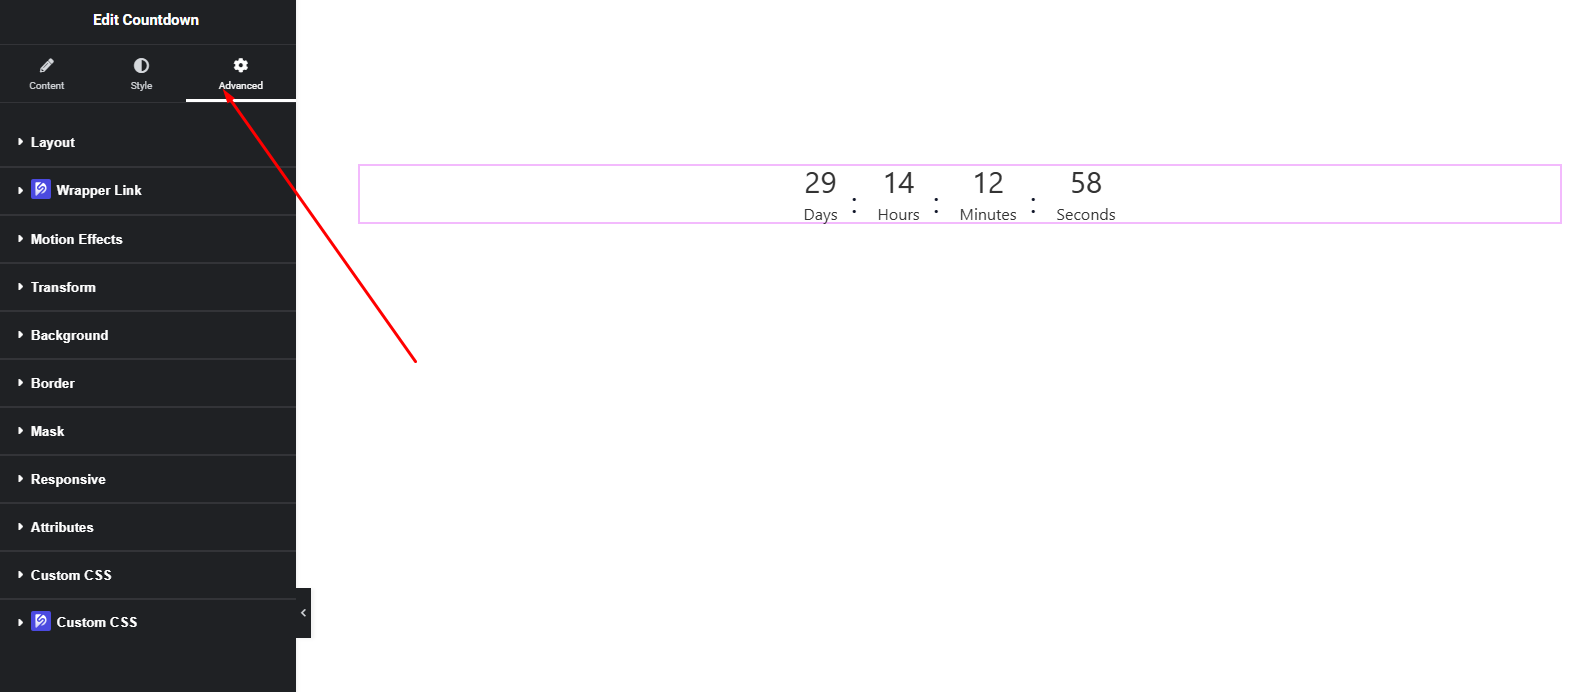
You can configure:
- Margin & Padding
- Background & border settings
- Motion effects
- Responsive visibility
- Custom positioning
Use these options to refine spacing and ensure perfect responsiveness across all devices.
Final Outcome
Congratulations! 🎉
You’ve successfully configured the DesignSute Countdown Widget to create urgency-driven and visually engaging timer sections. With full date and time control, custom labels, and expiration messaging, you can now drive user action effectively across your website.
If you need further assistance, feel free to reach out to our support team.


