
Overview
The Contact Form 7 widget in DesignSute allows you to easily insert and style your existing Contact Form 7 forms directly inside Elementor. Instead of relying on default form styling, this widget gives you full design control over labels, fields, buttons, and response messages — all without writing custom CSS.
It’s the perfect solution for creating beautifully styled contact forms, inquiry forms, support forms, and more while maintaining consistency with your website design.
Key Features
- Select from your existing Contact Form 7 forms
- Full styling control for:
- Labels
- Input fields
- Textareas
- Submit button
- Response messages
- Responsive design support
- Seamless integration with Contact Form 7
Ideal for:
- Contact pages
- Support forms
- Lead generation forms
- Appointment booking forms
- Inquiry sections
Prerequisite
Before using this widget, make sure the following plugins are installed and activated:
- Elementor
- Contact Form 7
- DesignSute
How to Activate the Contact Form 7 Widget
Before adding the widget, ensure it is enabled from the DesignSute Dashboard.
Steps to Enable:
- Go to DesignSute → Dashboard → Widgets (Tab) in your WordPress dashboard.
- Locate the Contact Form 7 widget.
- Toggle it ON.
- Save changes if required.
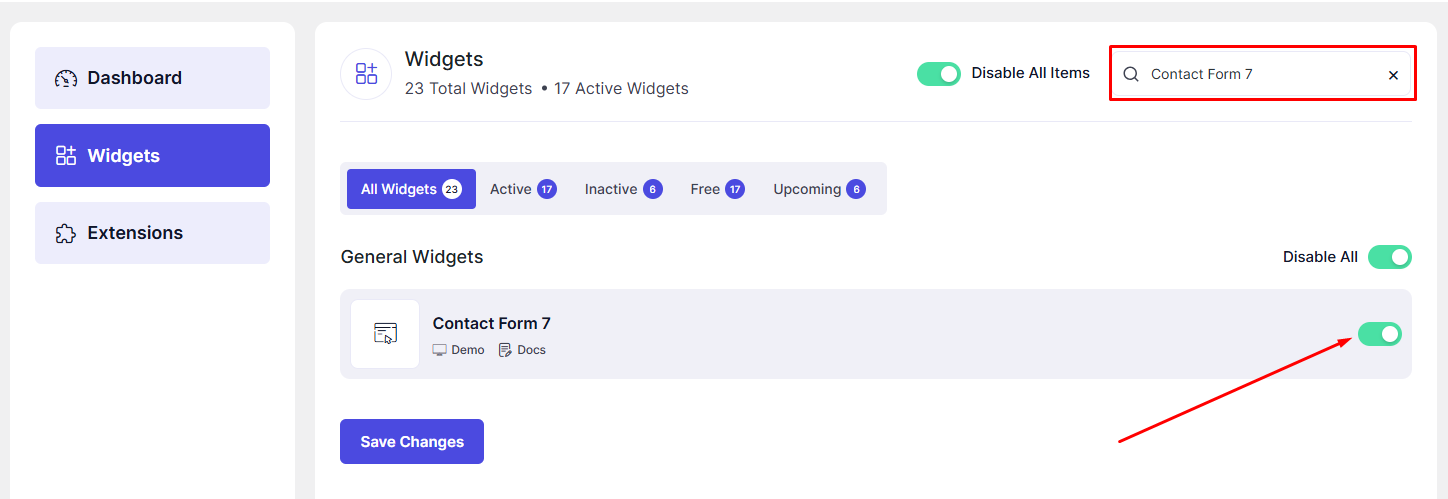
Now, the widget is ready to use in Elementor.
How to Add a Contact Form 7 Widget in Elementor
- Open your page in the Elementor Editor.
- Search for “Contact Form 7” in the Elementor panel under DesignSute widgets.
- Drag and drop the widget into your desired section.
- Select your preferred form from the dropdown list.
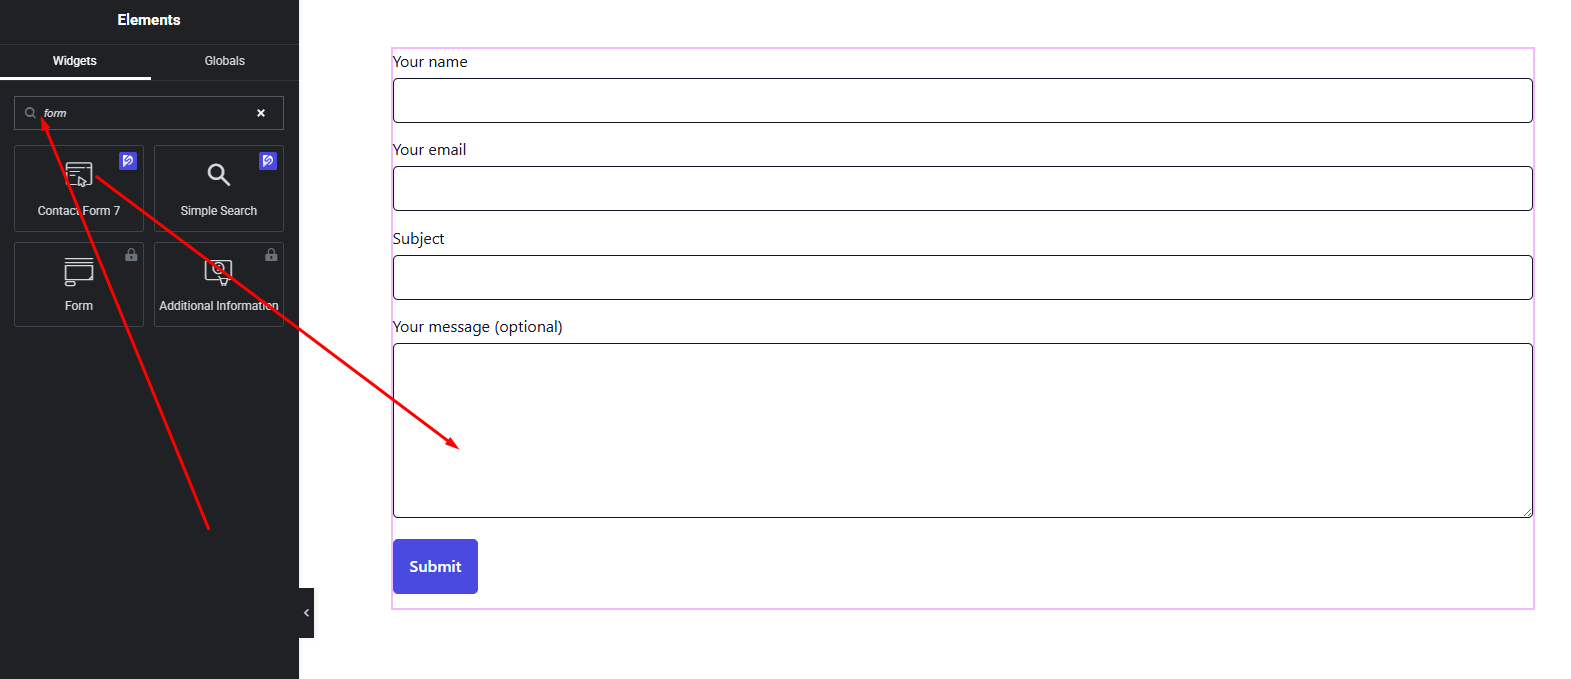
Your form is now added and ready to style.
Content Settings
The Content tab allows you to select the form you want to display.
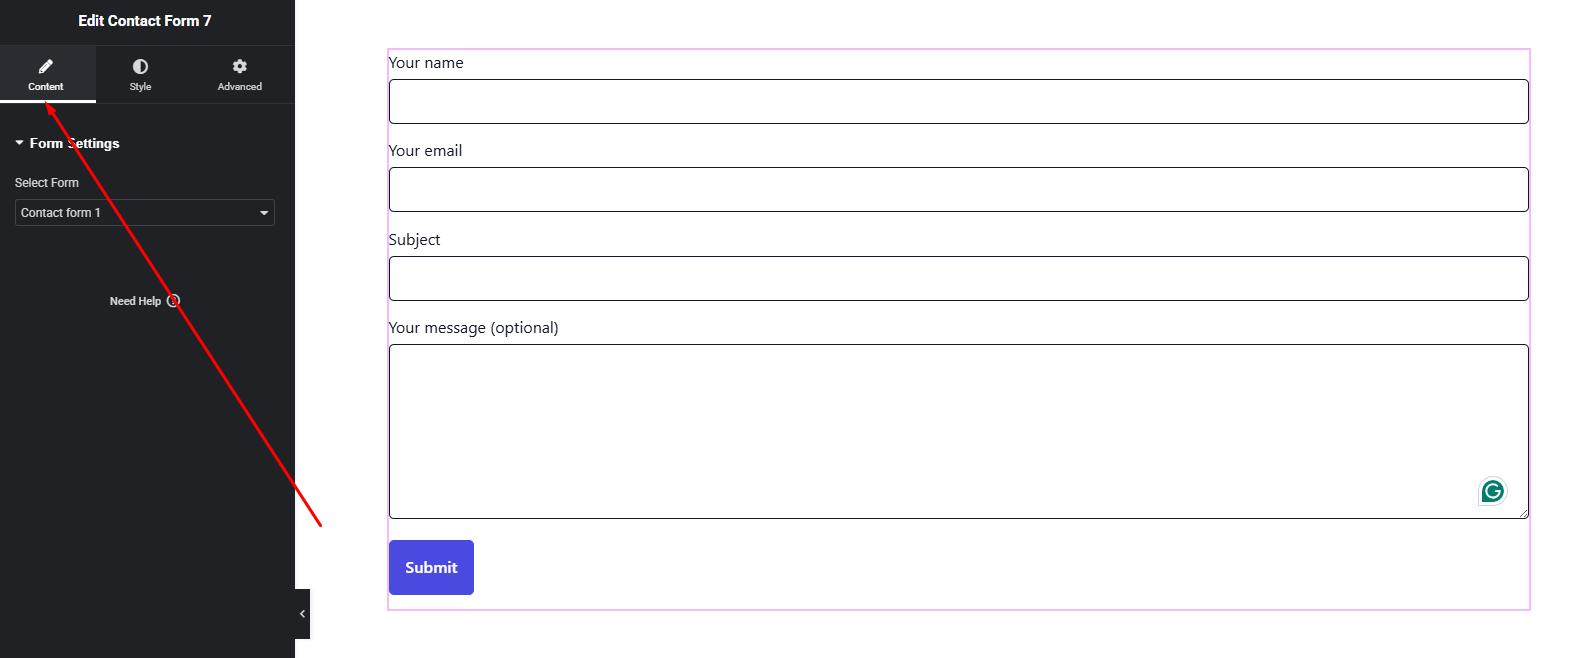
Available Option:
- Select Form – Choose from the list of forms you have already created in Contact Form 7.
Once selected, the form will automatically appear in the editor preview.
Make sure you have created at least one form in Contact Form 7 before using this widget.
Style Settings
The Style tab gives you full control over the appearance of your form elements.
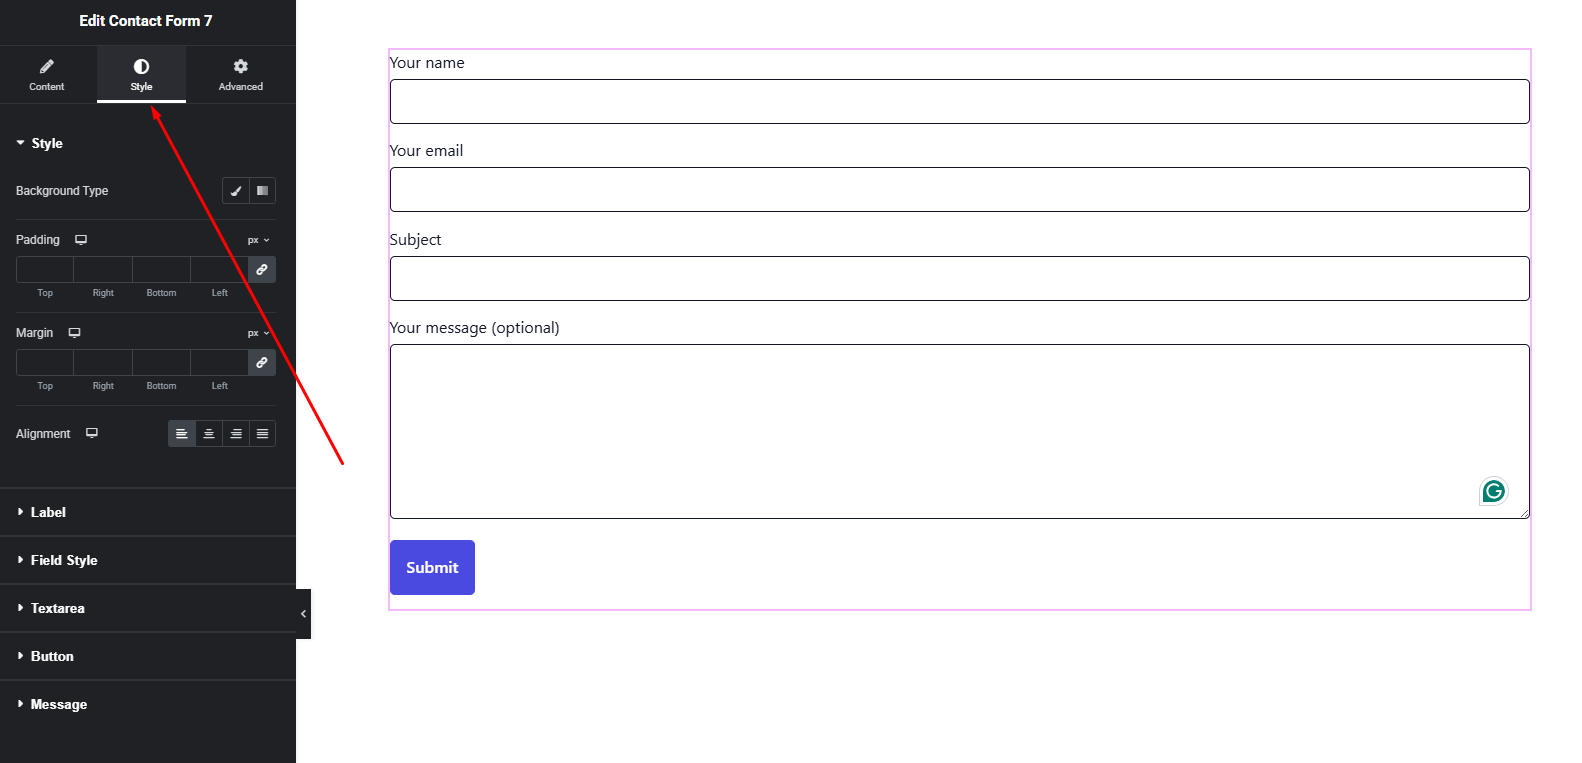
Label Style
- Typography – Adjust font family, size, weight, and spacing
- Text Color – Set label color
Field Style
- Typography – Customize input and textarea text
- Text Color – Set field text color
- Background Color – Set input background color
- Border – Control border width, color, and radius
- Spacing – Adjust field spacing and padding
Button Style
- Typography – Customize button text style
- Text Color (Normal & Hover)
- Background Color (Normal & Hover)
- Border & Radius
- Padding
Response Message Style
- Success message color
- Error message color
- Typography adjustments
These styling options allow you to create modern, minimal, or branded contact forms that align perfectly with your website design.
Advanced Settings
The Advanced tab provides additional layout flexibility.
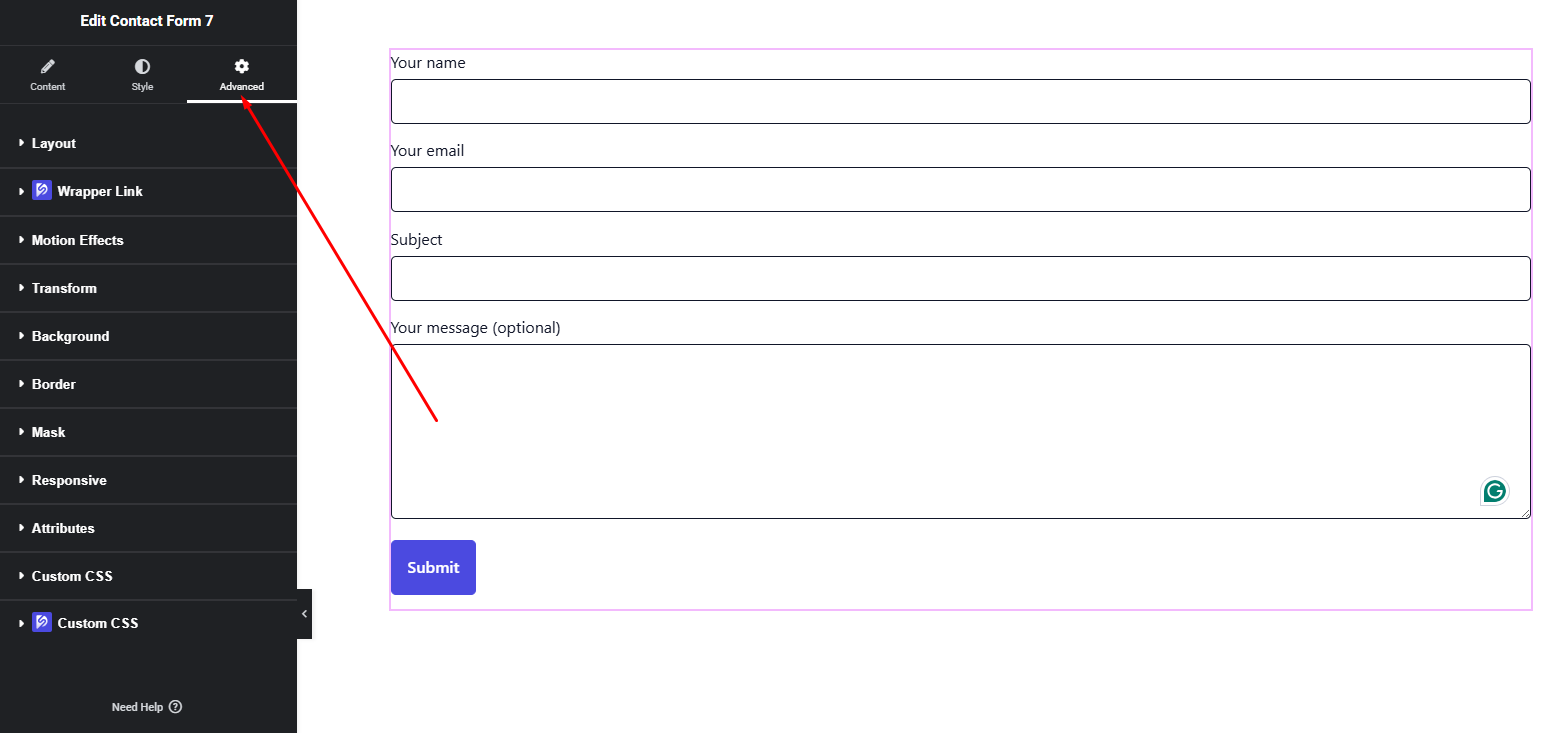
You can configure:
- Margin & Padding
- Background settings
- Motion effects
- Responsive visibility
- Custom positioning
Use these options to fine-tune spacing and responsiveness.
Final Outcome
Congratulations! 🎉
You’ve successfully added and styled your Contact Form 7 using the DesignSute widget. With complete control over labels, fields, buttons, and response messages, you can now create professional and conversion-focused forms without writing a single line of CSS.
If you need further assistance, feel free to reach out to our support team.


