
Overview
The Team widget in DesignSute helps you showcase your team members in a clean, professional, and engaging way. Whether you’re introducing company staff, agency members, or project collaborators, this widget allows you to display images, names, designations, descriptions, and social media links with flexible layout and styling options.
With multiple layout styles, image customization, overlays, and detailed content styling controls, you can create visually appealing team sections that match your brand identity perfectly.
Key Features
- 3 unique layout styles
- Image regulation controls
- Image overlay option
- Display Name, Designation, and Description
- Social media icons support
- Styling controls for:
- Image
- Name
- Designation
- Description
- Social icons
- Fully responsive design
Perfect for:
- About Us pages
- Agency websites
- Company profile sections
- Startup landing pages
- Portfolio websites
How to Activate the Team Widget
Before using the Team widget, make sure it is enabled from the DesignSute Dashboard.
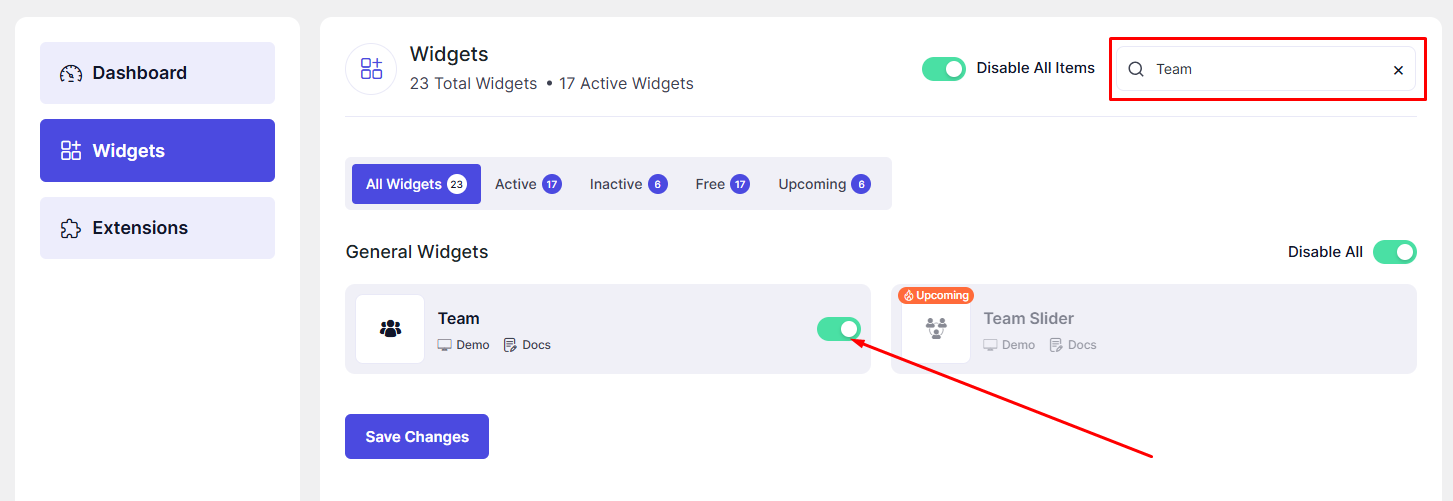
Steps to Enable:
- Go to DesignSute → Dashboard → Widgets (Tab) in your WordPress dashboard.
- Locate the Team widget in the list.
- Toggle it ON to enable the widget.
- Save changes if required.
Now, the Team widget is ready to use in Elementor.
How to Add a Team Widget in Elementor
- Open your page in the Elementor Editor.
- In the Elementor panel, search for “Team” under DesignSute widgets.
- Drag and drop the widget into your desired section or column.
- Start customizing your team member details in the Content tab.
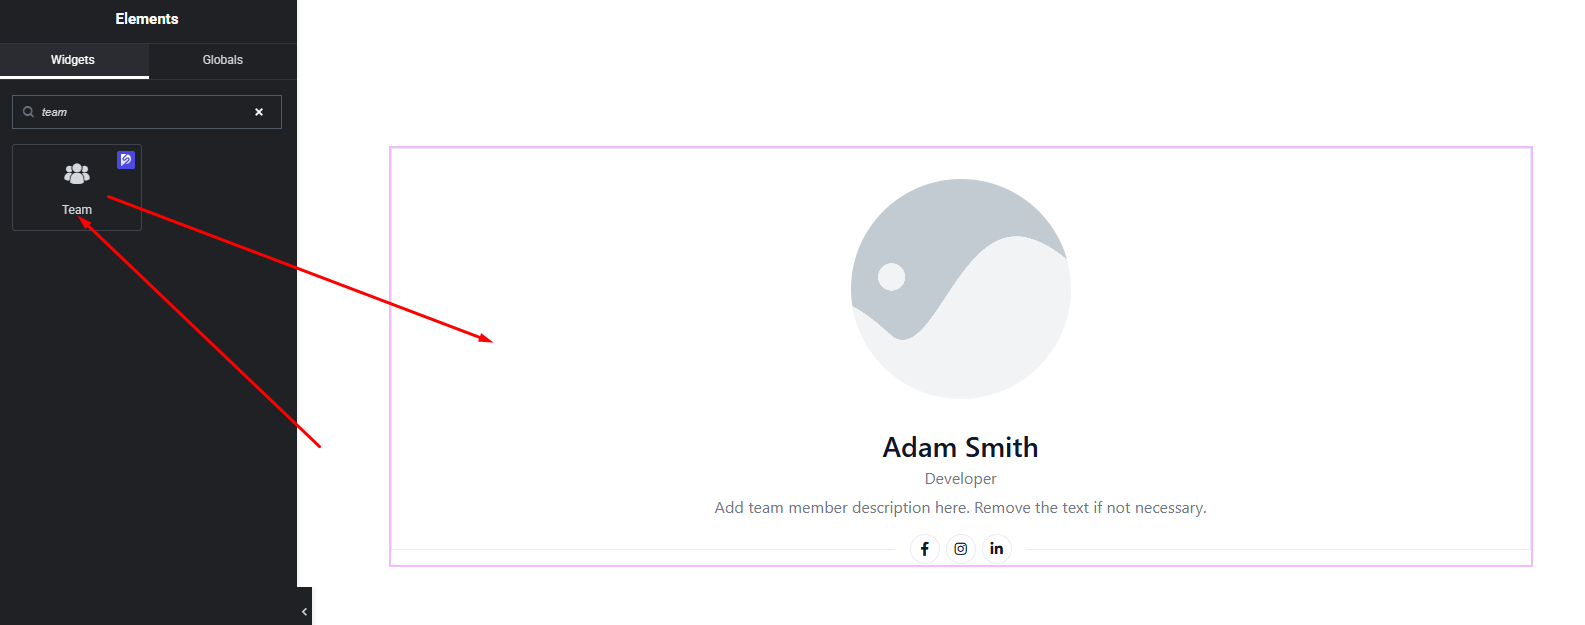
Your Team widget is now added and ready for customization.
Content Settings
The Content tab allows you to configure team member details and layout structure.
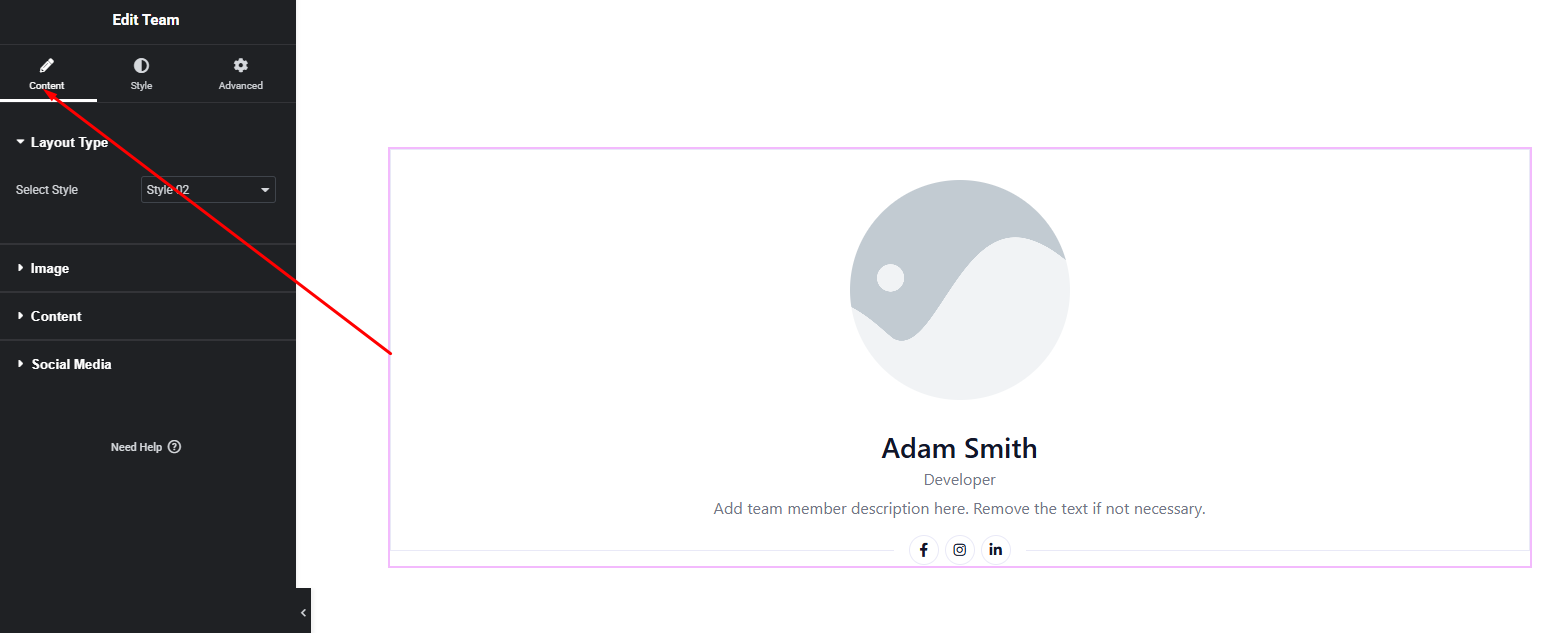
Available Options:
- Layout Style – Choose from 3 different layout designs to control the overall structure.
- Image – Upload the team member’s photo.
- Image Regulation – Adjust image size, fit, or positioning for better alignment.
- Image Overlay – Enable overlay effects on the image for a modern look.
- Name – Enter the team member’s name.
- Designation – Add their job title or role.
- Description – Provide a short bio or introduction.
- Social Media – Add social profile links (e.g., Facebook, Twitter, LinkedIn, etc.).
These settings allow you to present each team member professionally and clearly.
Style Settings
The Style tab gives you complete control over the appearance of your team section.
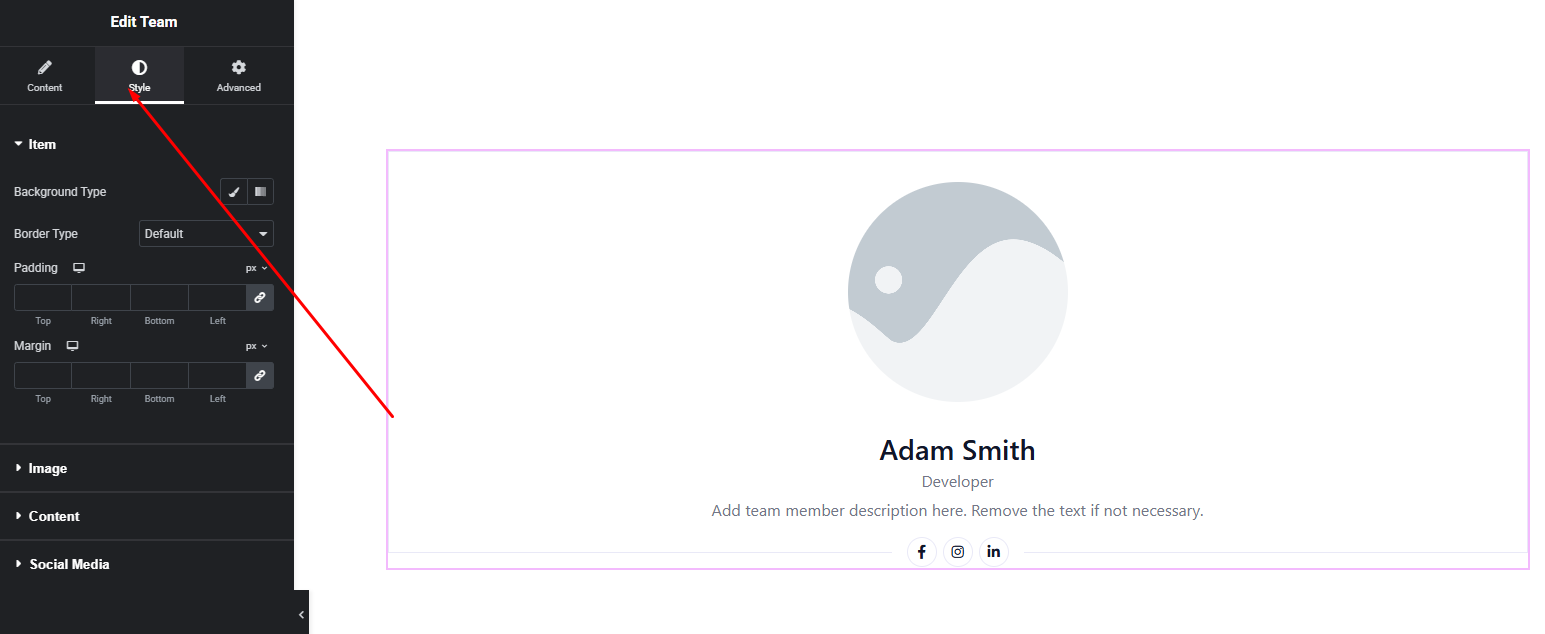
Image Style
- Border & Radius
- Overlay background
- Image spacing
Content Style
- Name Typography & Color – Customize font family, size, weight, and color.
- Designation Typography & Color – Style the role/title text.
- Description Typography & Color – Control readability and spacing.
Social Media Style
- Icon size
- Icon color (normal & hover)
- Background color
- Spacing between icons
These styling options allow you to create a minimal, modern, corporate, or creative team layout based on your brand.
Advanced Settings
The Advanced tab includes additional layout and design flexibility.
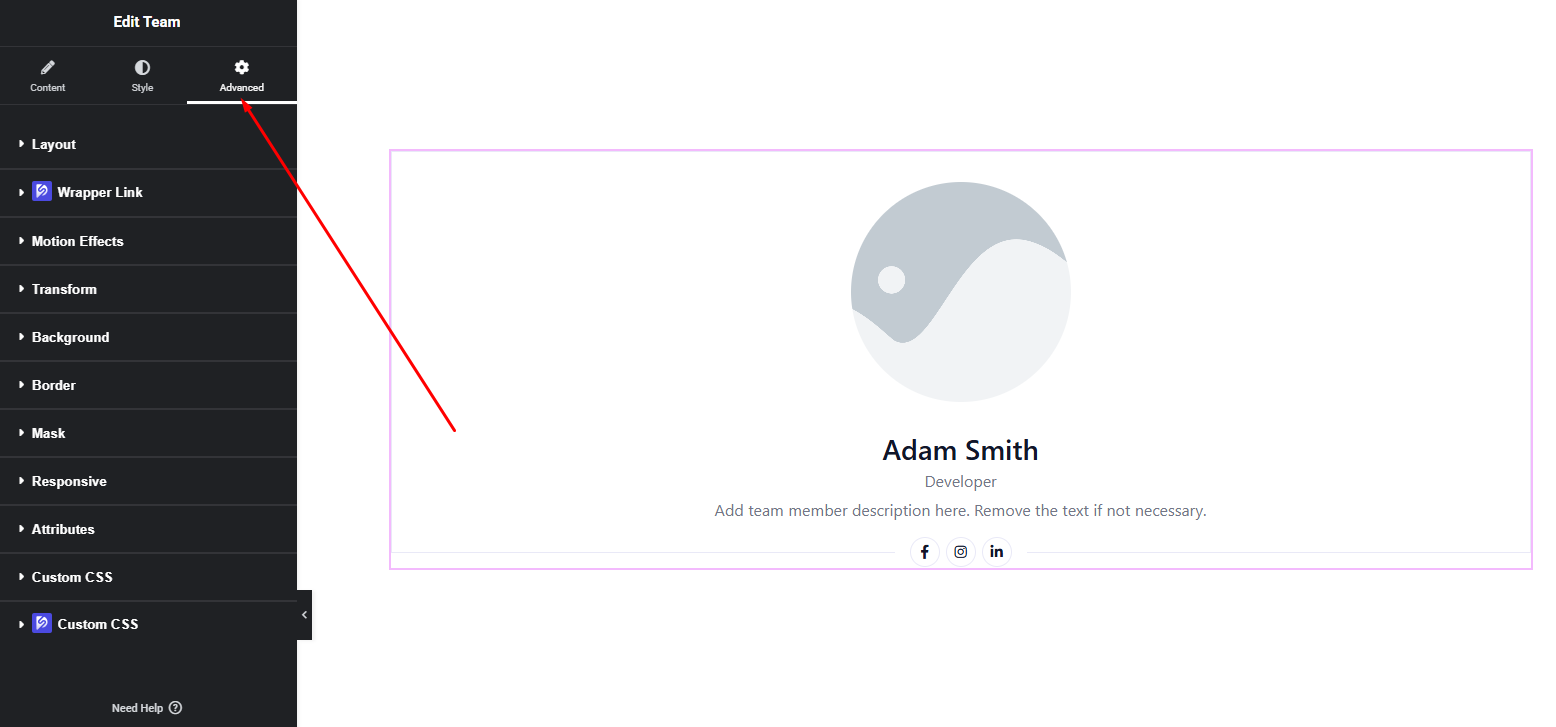
You can configure:
- Margin & Padding
- Motion effects
- Background & border
- Responsive visibility
- Custom positioning
Use these options to refine layout spacing and ensure your team section looks perfect across all devices.
Final Outcome
Congratulations! 🎉
You’ve successfully configured the DesignSute Team Widget to create a professional and visually engaging team section. With flexible layouts, image overlays, and detailed styling options, you can now present your team members in a polished and brand-consistent way.
If you need further assistance or have any questions, feel free to contact our support team.


